Heavy Duty VELCRO® Brand Stick-On
We've all been here, a picture has been floating around the home for a while desperate to be put up on the wall, but the prospect of unpacking all the tools, drill, wall plugs, finding that elusive screwdriver and not to mention trying to track down the dustpan and brush. Fear not, this whole process can now be completed in less than 5 minutes with not a spec of dust in sight!

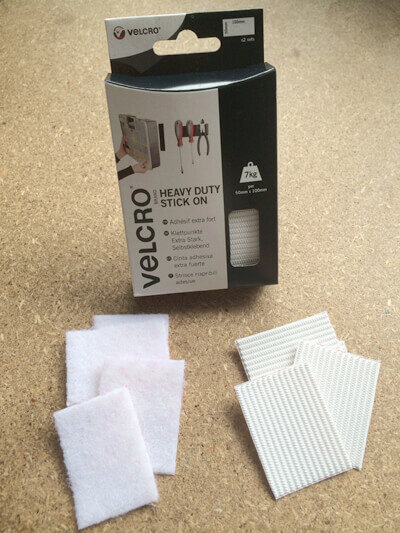
We have used a pack of 50mm wide by 100mm long VELCRO® Brand strips in white available as a standard consumer pack, with two pieces of each hook and loop side per pack.
We cut the 100mm strip in half so we now have 50mm x 50mm squares with still one strip of each side in the box we have enough to put up two pictures. If you're worried about it falling off there's no need as each piece at 100mm long is enough to hold up to 7kg in weight!
The technology behind the super strong fastener is the use of a double-coated rubber resin applied to the entire back surface of the tape, even when cutting you can feel just how sticky the glue is. The loop side of the tape is fairly standard, perhaps a little deeper than standard tapes whilst the hook side is the strip with all the magic, an all-plastic section with two-way facing hooks for superb strength both ways.

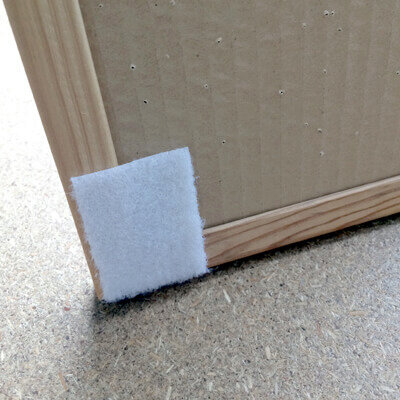
For our own demonstration we used a pin board and in each corner stuck on the soft fluffy loop side of the tape, pressing it down firmly to the frame (please ensure your frame is not delicate as the resin will bond very well when cured)
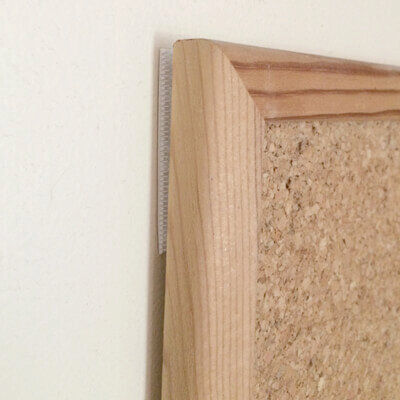
Once all 4 corners have a square of loop stuck on you can press the hook pieces to is with the glue side facing out, this way you can have all four corners ready with the hook and loop side together, take off the release paper from the hook side and press the whole board to the wall.
Once all 4 corners have a square of loop stuck on you can press the hook pieces to is with the glue side facing out, this way you can have all four corners ready with the hook and loop side together, take off the release paper from the hook side and press the whole board to the wall.

To make things a little easier when you first put the frame to the wall, its worth marking a level line so that when you press the strips of Heavy Duty to the wall to stick you get the picture somewhere close to level. The beauty though of using the Heavy Duty VELCRO® Brand is that you have plenty of adjustment to get it perfectly level.
Before trying to level up your picture, let the glue dry over a 24-hour period. If you try to make adjustments to soon you will just peel the fastener from the wall.
Before trying to level up your picture, let the glue dry over a 24-hour period. If you try to make adjustments to soon you will just peel the fastener from the wall.

After you have given the glue time to cure, you can gently part the fastener to make any final adjustments.
One thing worth consideration is the size and weight of the picture, it might only need securing at the top, this would make adjustment much easier and your pack of Heavy Duty VELCRO would go even further!
One thing worth consideration is the size and weight of the picture, it might only need securing at the top, this would make adjustment much easier and your pack of Heavy Duty VELCRO would go even further!


