How to Replace the Hook Tape on a Sander

By Hook and Loop Fasteners | 2025-03-05
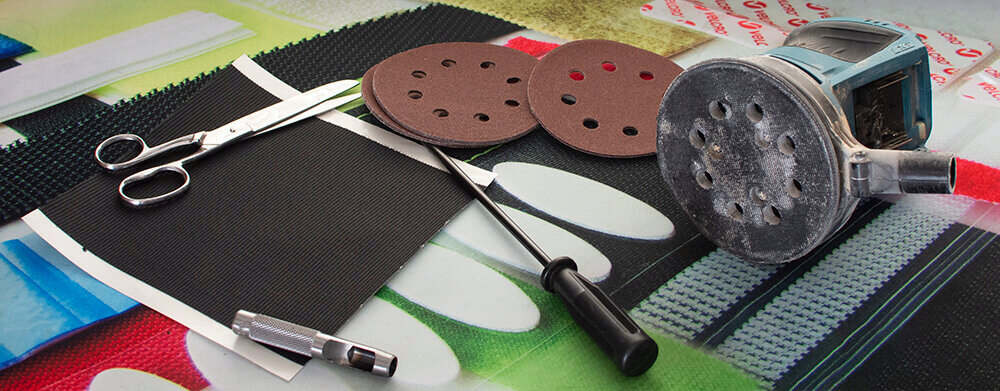
Over time, the hook backing on a machine sander can wear out, causing sanding discs to lose their grip and making sanding inefficient. Instead of replacing the entire sander or sanding pad, you can extend its life by replacing the worn-out hook side backing with a new piece of tape. Here’s how you can do it using VEL-LOC® 175mm x 200mm Black PS18 Sanding Pad Backing Hook Tape, available on our website.
What You’ll Need:
- Replacement hook tape (VEL-LOC® 175mm x 200mm Black PS18)
- Scissors or a utility knife Sandpaper (optional, for surface prep)
- Isopropyl alcohol or a degreaser A scraper or putty knife (for removing old tape)
- A ruler or measuring tape
- A pencil or marker
Step 1: Remove the Old Hook Tape
If the existing hook surface is damaged, peeling, or no longer holding sanding discs securely, it needs to be removed.
1. Peel Off the Old Hook Tape - Use a putty knife or scraper to carefully lift and remove the worn-out hook tape from the sander’s pad. If it is stubborn, apply heat with a hairdryer or heat gun to soften the adhesive.
2. Clean the Surface - Wipe down the pad with isopropyl alcohol or a degreaser to remove old adhesive residue and dust. This ensures a strong bond with the new hook tape.
Step 2: Measure and Cut the New Hook Tape
1. Measure the Pad - Use a ruler or tape measure to determine the size of the replacement hook tape needed.
2. Cut to Size - Using scissors or a utility knife, cut the VEL-LOC® PS18 Hook Tape to fit the sanding pad. If your sander has vent holes for dust extraction, you can use a hole punch or a craft knife to cut corresponding holes in the hook tape.
Step 3: Apply the New Hook Tape
1. Peel the Backing - If using self-adhesive hook tape, carefully remove the liner to expose the adhesive.
2. Align and Stick - Carefully align the new hook tape with the sanding pad and press it down firmly, ensuring full contact.
3. Press Firmly - Use your hands or a roller to apply even pressure, ensuring the adhesive bonds properly to the pad.
4. Let It Set - Allow the adhesive to cure as per the manufacturer’s instructions (if applicable).
Step 4: Test the New Hook Surface
Attach a sanding disc to the newly applied hook surface and check its grip. If the sanding disc adheres securely and remains in place during use, your replacement is successful!
Benefits of Replacing the Hook Tape
- Cost-effective - No need to replace the entire sander or pad.
- Extends the life of your sander - Keeps your tool working efficiently.
- Easy and quick to do - No special tools required.


